Building the Windows ISO (Server OSes only, not tested for Desktop OSes)
- Get the latest binary VirtIO drivers for Windows, packaged as an ISO file, from https://fedorapeople.org/groups/virt/virtio-win/direct-downloads/stable-virtio/virtio-win.iso
- Make a folder:
c:\custom. - Extract your Windows Server ISO to:
c:\custom\winserverwith a compression tool such as 7zip http://www.7-zip.org/. - Extract the VirtIO ISO to
c:\custom\winserver\virtio. - Use an ISO mastering tool to create your custom slipstream ISO. In general, the following mastering options are needed:
- Filesystem: UDF, Include Hidden Files, Include System Files
- Make image bootable.
- Emulation Type: none
- Boot Image:
C:\custom\winserver\boot\etfsboot.com - Platform ID: 80×86
- Developer ID: Microsoft Corporation
- Sectors to load: 8
You now have a Windows ISO with built-in VirtIO drivers ready for use as a custom AKLWEB HOST ISO.
Installing
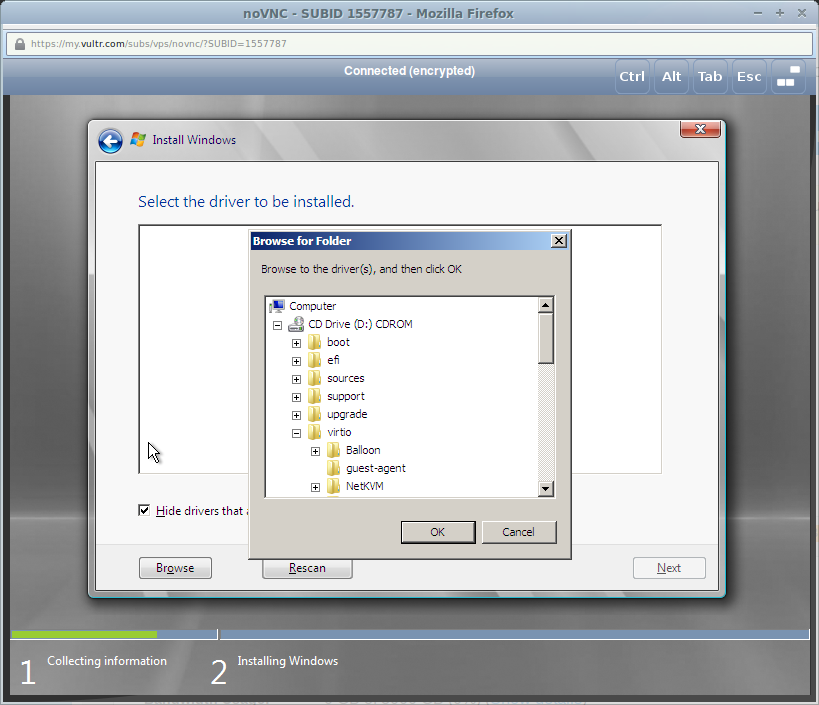
At first, no drive is present. This is normal. Click “Load Driver”.

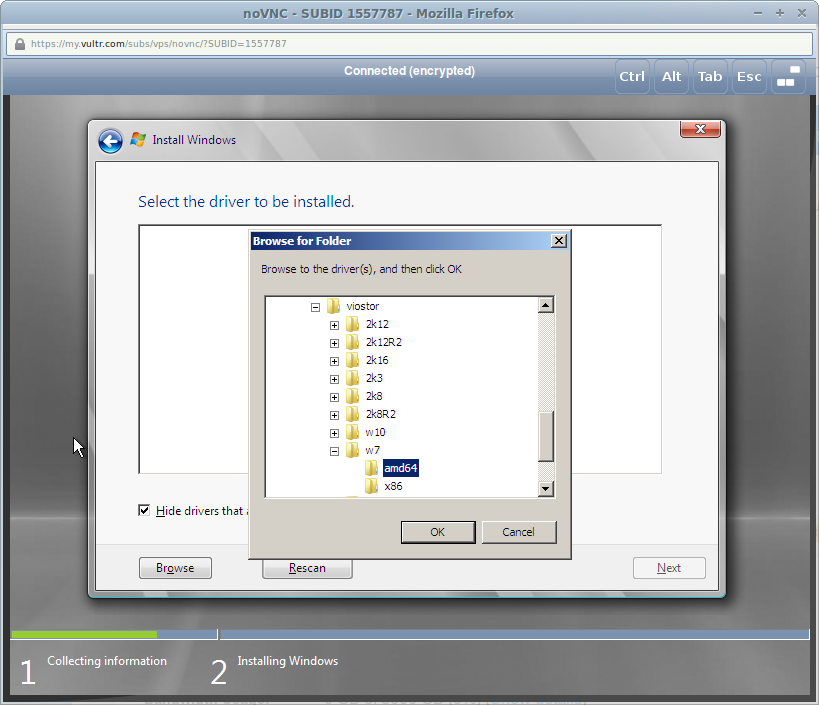
- For Server 2008, use VISTA.
- For Server 2008r2, use WIN7.
- For Server 2012 and 2012 R2, use WIN8.
- For Server 2016, use 2k16.
For example, using 2008r2 on a 64 bit VPS:
Browse to one of the following folders (varies based on your ISO image):
- virtio > WIN7 > AMD64
- Virtio > Virtstor > Win2K8r2 > AMD
Select “Red Hat VirtIO SCSI” driver.
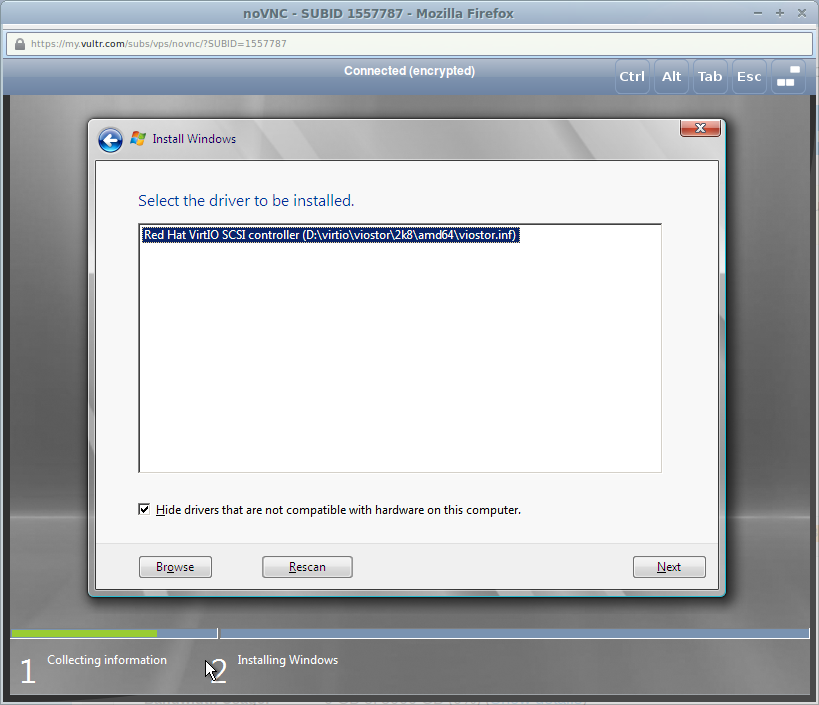
Now the drive is visible.
Additional Steps
Configuring Network Connectivity
- After you log in for the first time on your Windows VPS via View Console, you will be greeted by the Server Manager. On the upper right part of the menu, click on
Toolsthen chooseComputer Management. A new window will open. - On the left pane of that new window (will be named
Computer Management), selectDevice Manager. - You should notice 3 devices that are marked with yellow “!” signs (4 if you chose to enable
Private Networking).
Right-click onEthernet Controllerand chooseUpdate Driver Software... - Two choices will appear, choose the one below, which is
Browse my computer for driver software. - Click
Browse...and navigate toD:\virtio\NetKVM\WIN8\AMD64, then clickNext. - You will see a pop-up confirmation to verify that you want to install
Red Hat VirtIO Ethernet Adapter, just clickInstall. - Your VPS will now have internet connectivity! Perform steps 3-6 again for any more
Unrecognized Deviceson your system.
Getting Windows RDP to Work (optional)
- Though you can do just fine with AKLWEB HOST’s View Console. You can’t copy / paste text to or from it, for that you might want to install
Windows RDP (Remote Desktop Protocol). To do so, openServer Manager. - Click on
Manage, then chooseAdd Roles and Features. - It is safe to keep clicking
Nextuntil you get toServer Rolessection of it. - Scroll down a bit, and find
Remote Desktop Services, click the check-box beside it to select. Then clickNext. - You can skip the
Featurespart for now, so just clickNextagain. - Now on
Role Services, click the check-box besideRemote Desktop Session Host. - A pop-up will appear, just click
Add Features, then clickNextone last time. - Confirm your installation by clicking
Install. Your VPS will now be installingWindows RDP. - Once the installation finishes, you can reboot your VPS to apply the changes. And you’re done! You will now be able to connect to your VPS via
Windows RDP, using yourIP Address,User name(default is Administrator) andPassword.